Virtual Machine Set-Up with Kali Linux
To start working in a test environment, we will need to set up a virtual machine. This requires some minimum specification of hardware to run this virtual machine. Please reference the virtual box for more information.
https://www.virtualbox.org/wiki/End-user_documentation
Once you have the minimum hardware requirements we can move on to the next steps.
Virtual Box installation
Kali installation
Virtual Box Installation:
In the browser go to https://www.virtualbox.org/ to download the file for your operation system.

If you have Windows, download the Windows hosts, and if you have macOS download macOS.
You can install the application once you have the file downloaded to your host system.
Run the VirtualBox installer and follow the default installation
Once installing is complete you can search for the application in your system and open the application.

Once VirtualBox is open it should look something like this.

Downloading Kali Linux:
In the browser go to https://www.kali.org/get-kali/#kali-virtual-machines to download the operation system to install or import.
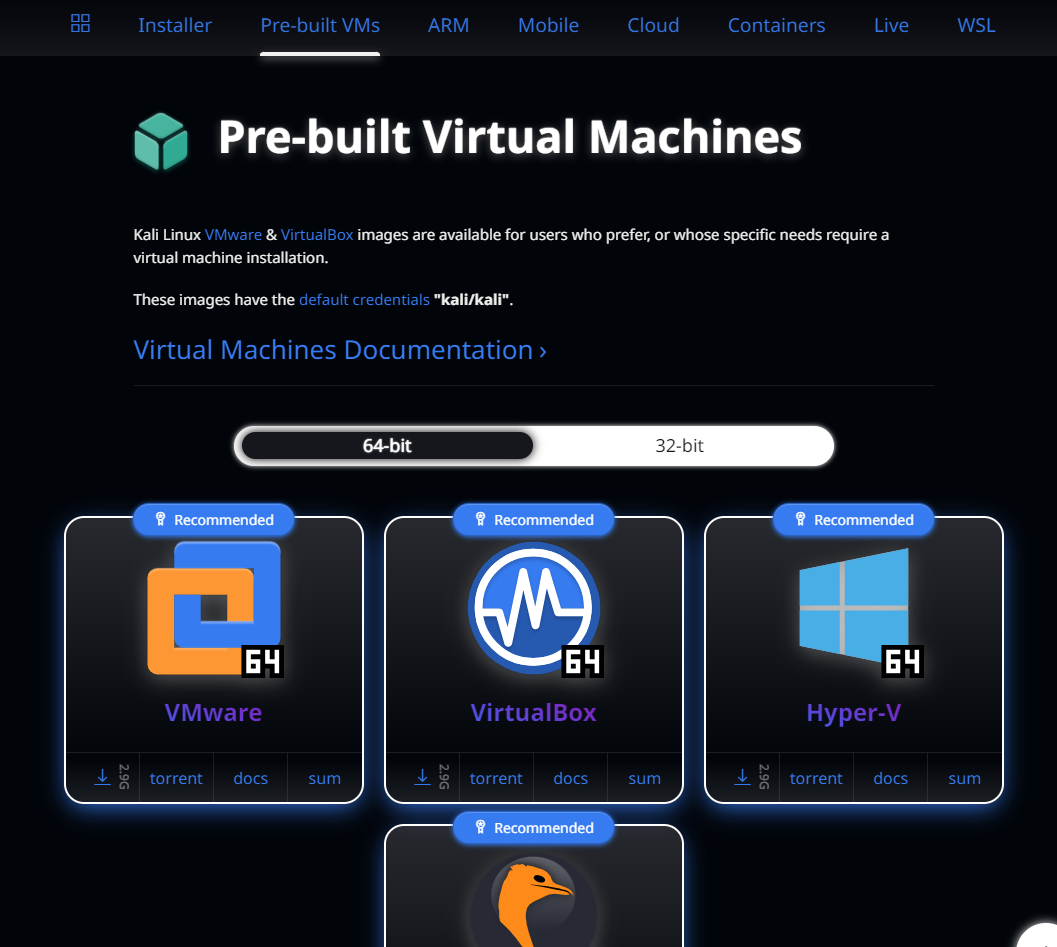
In this case, we are going to download a pre-built virtual machine. Down the one for VirtualBox because that image can only be used for VirtualBox.
Once you have downloaded the image we can import the operation system to install or run the operation system.
In this case, we do not need to install the ISO because it is already a pre-built system. So we are going to open the downloaded file and open the Ova file.
Once you open the Ova file it will import the per-built OS into VirtualBox.
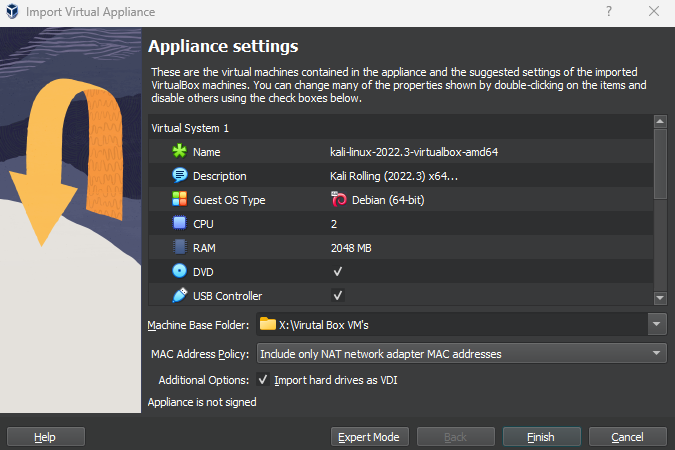
Click on finish and the pre-built Kali will import.

Once Ova has been imported you can click on the Kali on the left and go into setting.


Change the RAM and Process to your liking. More CPU and RAM will speed up VM performance.


We are going to keep the network setting to NAT.

Save settings and launch Kali OS.
You will be prompted to choose a setting or let the timer count down to choose 1st option, using Kali GNU/Linux.

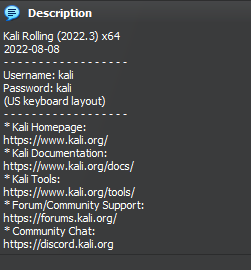
Your screen should prompt you to have a username and password.

Go to the VB setting and look at the description for the Kali at the bottom in the middle. This is where the pre-built Kali machine information will be listed with user and password information.
Once you are logged in with the user and password. Open the terminal and run an update.

Terminal command to run.
Sudo apt update && sudo apt upgrade -y
This completes the installation of VirtualBox and imported OS Kali.
Comments
Post a Comment